Page Title: How To Rerope a flagpole from the ground
Tips on replacing flagpole rope
How to rig a snaphook How to spot worn out halyard How to install a flagpole Buy Halyard
See alternative suggestions sent in by visitors to this page
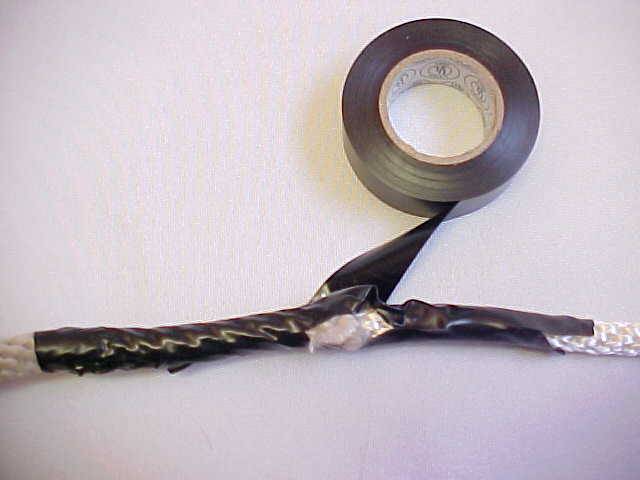
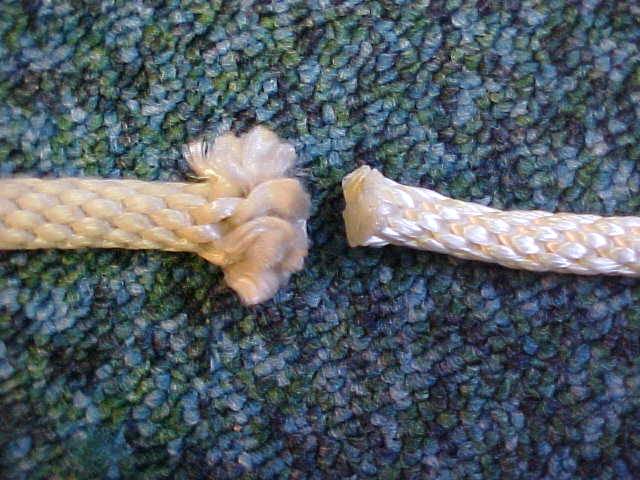 Pretend this flagpole rope is in your pole. Cut your old rope, but don't let it come out of the pulley up top. Old rope on left, new rope on right. Line them up end to end. |
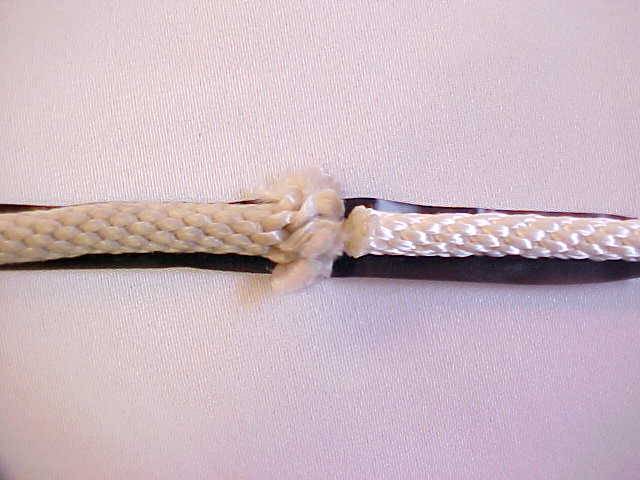 I take a a piece of electrical tape and begin to make a splice by running it lengthwise along the ropes on the back side across the joint.... ADVISORY: I was at a trade show since creating this page and saw where another guy uses wire to join the two ends before wrapping them with tape. He wraps the wire around the rope in a spiral fashion like when you tape an injured ankle. This would need to be a wire thin enough to remain pliable.
|
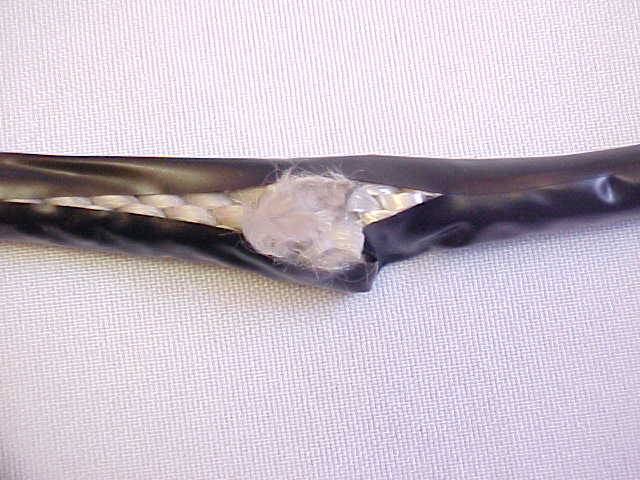 Then I do the same across the front side..... |
 Then squeeze it all together making it tight...... |
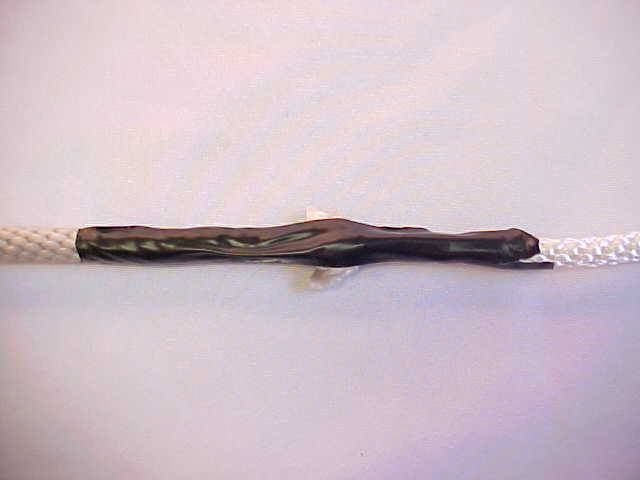
 Then take the role of tape and begin about 4 inches above the joint to wrap the rope like a mummy in a spiral motion. Wrap it like you would wrap an ankle. Continue across the joint where the two ropes meet.... |
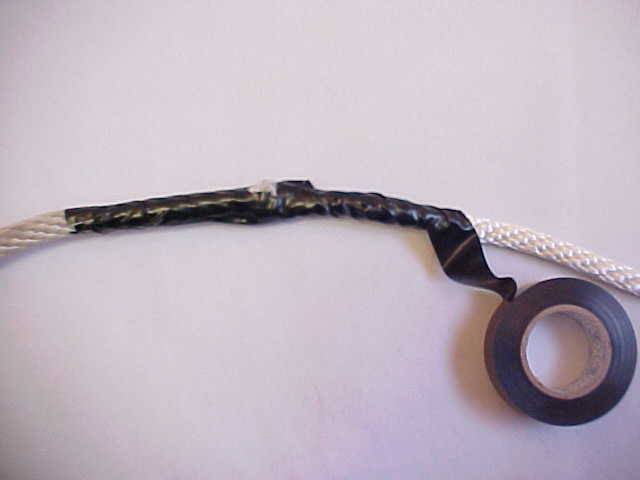 ... then clear across the other side of the joint to a point about 4 or 5 inches beyond the joint.
|
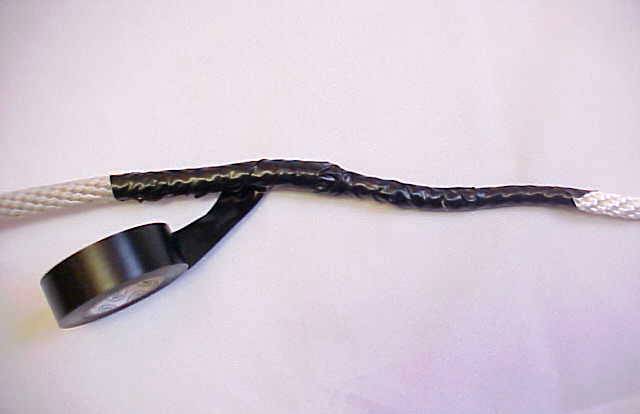 You get the idea. Wrap it back the other way for good measure. How much do you wrap it? That is the million dollar question. Wrap it too much and it will be more difficult to pull the splice through the pulley wheel up above. Don't wrap it enough and it could separate up above when you try to pull it through the pulley. |
 So here you go. You're on your way pulling the new rope up through the pulley................ |
 |
 At this point, when the tape and then the splice meet the pulley wheel, you will begin to feel some resistance. The smooth gliding sensation of a normal rope sliding through a pulley wheel will begin to disappear........ |
 At this point you are at the moment of truth. The fat thick spliced joint meets the pulley wheel. You'll feel it stop. The rubber meets the road. Everything you have trained for your entire life comes down to this one moment. Go nuts and yank the thing through with all your might and you risk using more force than you need. Yank too hard and you could cause the two ropes to separate leaving you with NO rope in the pole. Then you're a guy on the phone asking what the bucket truck guy charges you show up. |
 .......so DON'T do that! Just slow down, trust the nice firm splice you made, and continue to pull with only the least amount of force you need to ease the splice through the pulley wheel. Feel the force, Luke. In all the years I have been re-roping flagpoles, I have never once lost a halyard. |
 Victory! Your new halyard is through your pulley. |
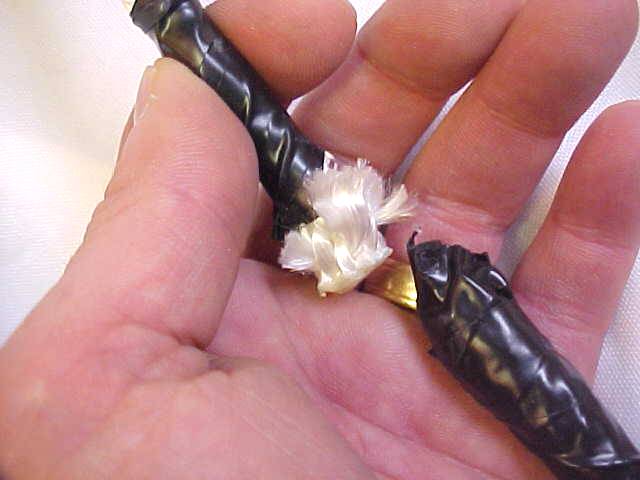 Meanwhile, down on the ground, you have the splice back in your hand. Take it apart. Here I have cut it apart and in doing so, I have frayed the end of the new halyard we shipped you. When we ship you cut halyard, we cut it with a hot knife that melts the fibers on the end so they don't unravel. |
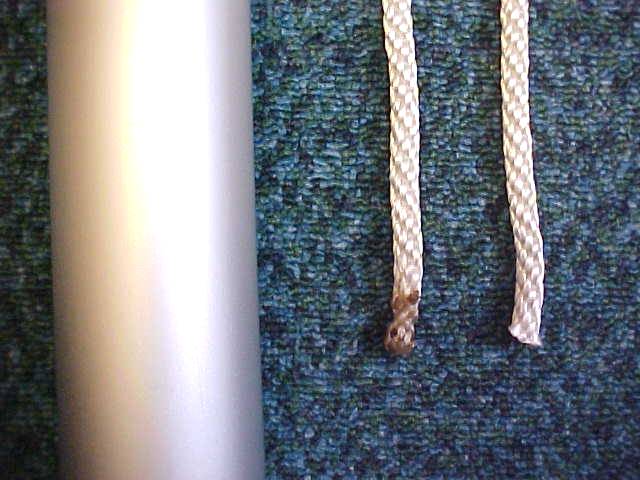
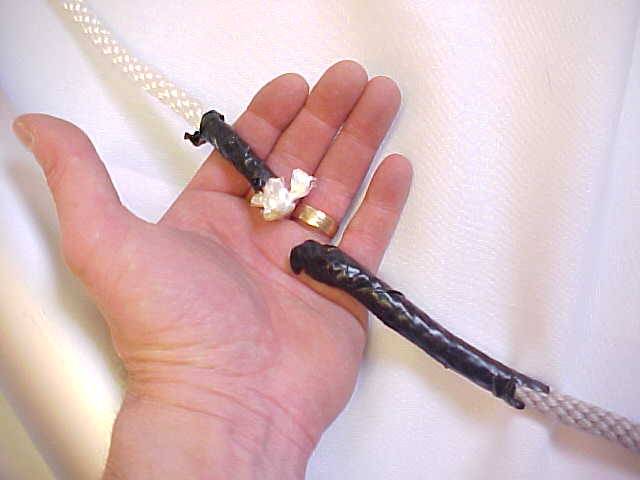 New halyard to the left represents the new halyard coming down from the top of your pole. The old halyard to the right is still good for lots of uses around the house. |
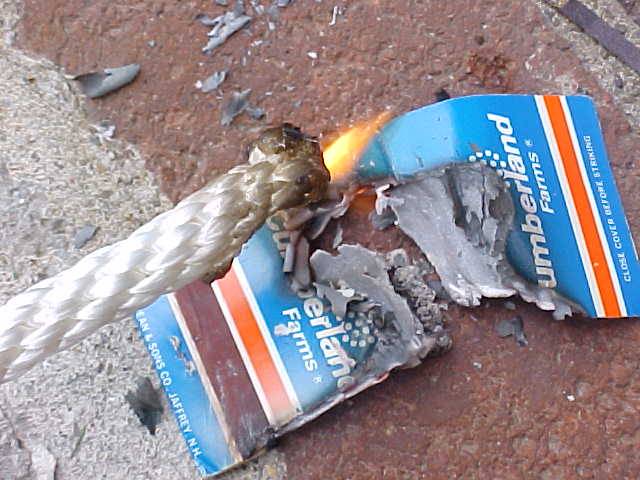 You don't have a hot knife so use any flame. CAREFUL. Blobs of hot molten polyester will drip like lava. They make quite a nasty smelling gas. |
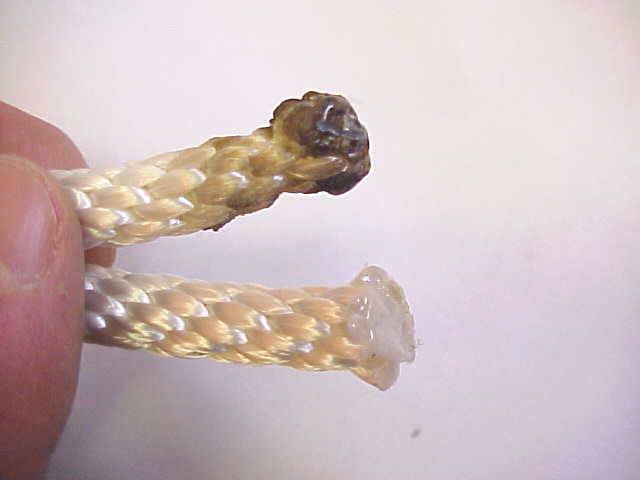 The end on top is halyard that has been melted at home with matches. The end below is halyard we melted with our hot knife. Ours looks prettier, but both methods yield the same benefit. They both stop the halyard's braid from coming apart. |
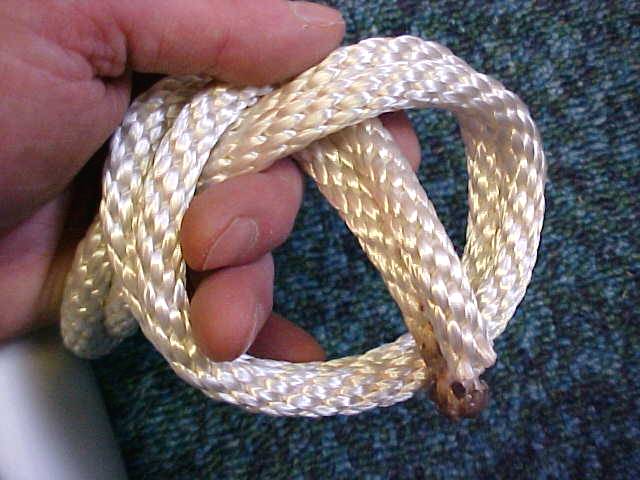
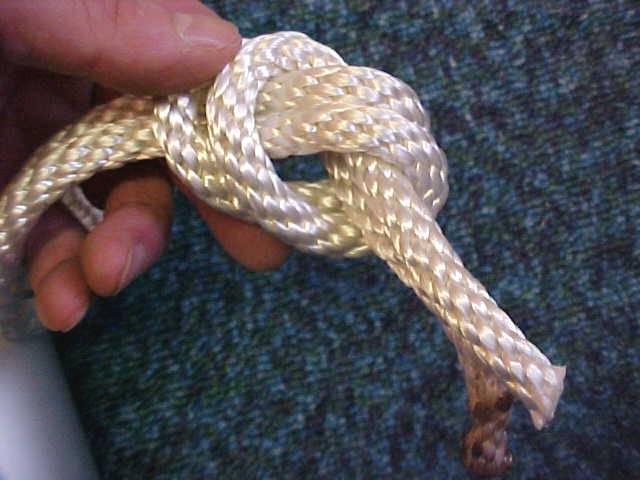
 So now you have the new halyard through the pulley up top and two loose ends in front of you down at the ground. TIE THE ENDS TOGETHER. THE HALYARD SHOULD BE TIED TO ITSELF FORMING ONE CONTINUOUS LOOP. |
 |
 |
 |
 |
 |
 |
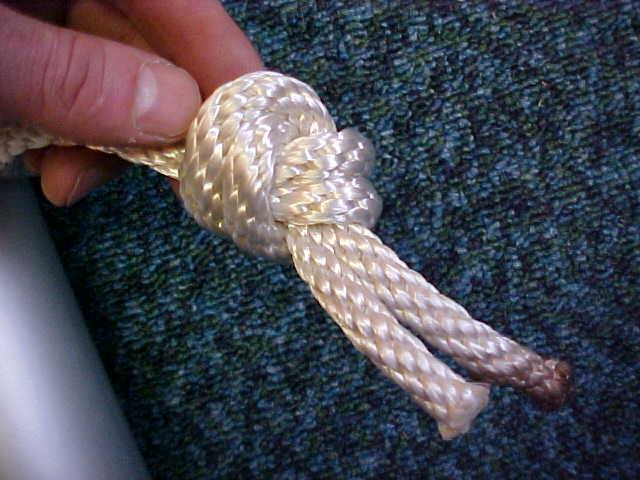 |
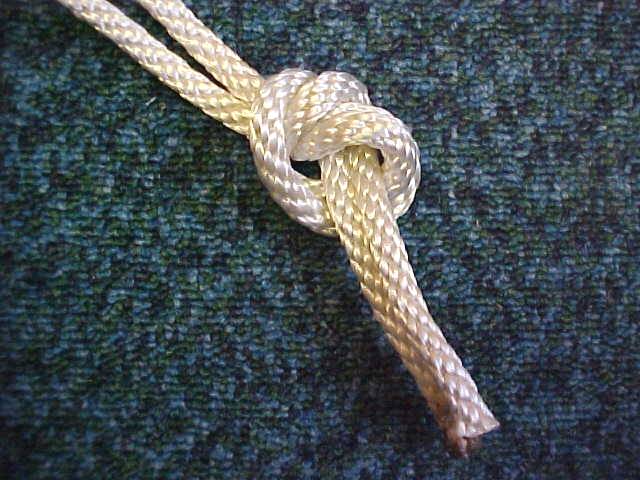
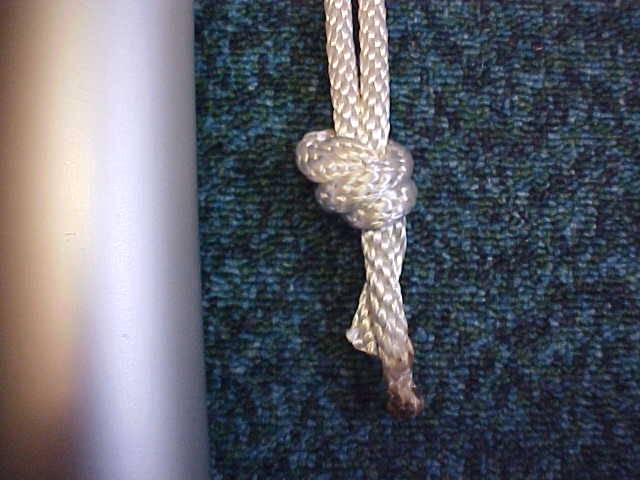 So now you are left with a knot in front of you. |
 I like to send the knot up to the top of the pole before I attach a flag. That way when I hoist the flag up, the knot will come down. |
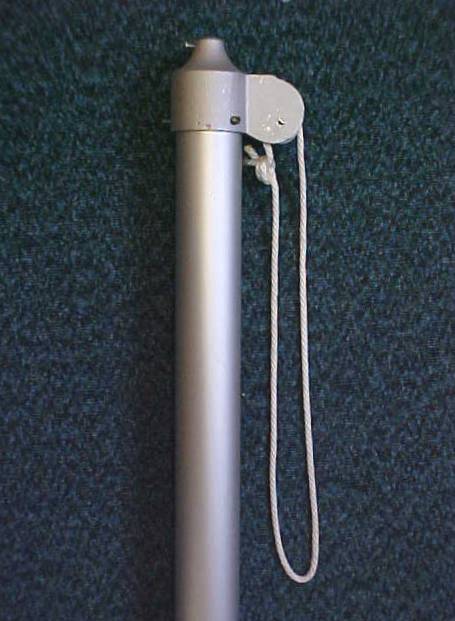 Hoist the knot up to the top of the pole before you attach a snap hook for the flag. |
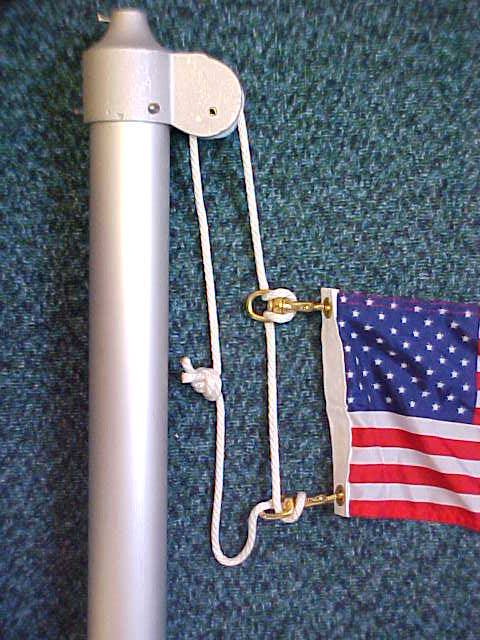
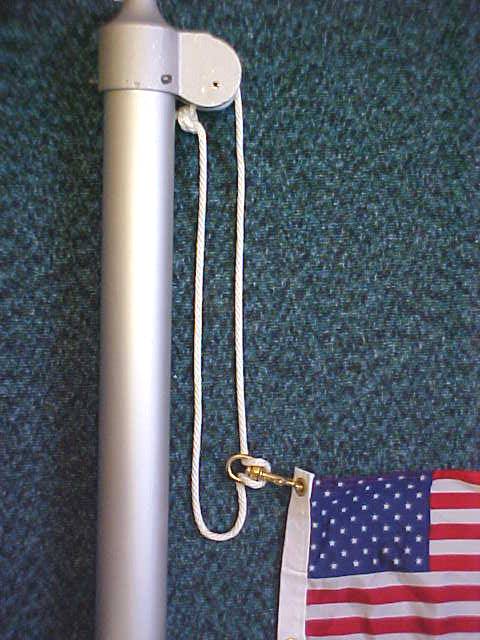 Now with the knot up top, I loop the first snap hook on at the bottom and attach the flag. |
 Just loop the snap hook on. How to rig a snaphook Make NO knots. Knots become like rocks after being tightened with use out in the weather.. Plus if you only loop the snap hook on, they are very easy to adjust up or down the halyard when you change flags some day. |
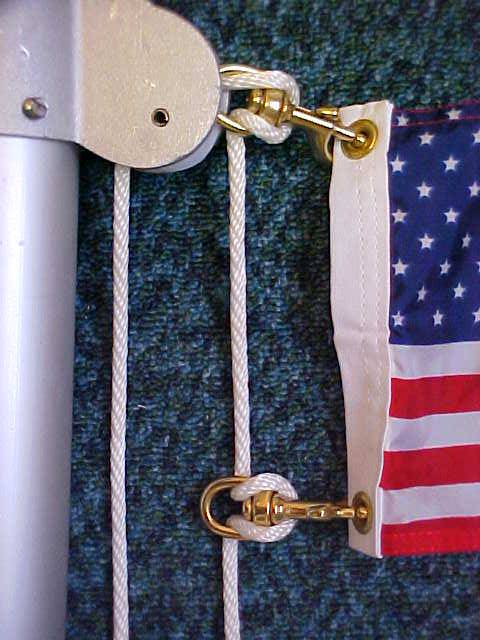
 Raise the flag a bit so you can add the second snap hook. Guess what? As you raise the flag, the knot comes down. |
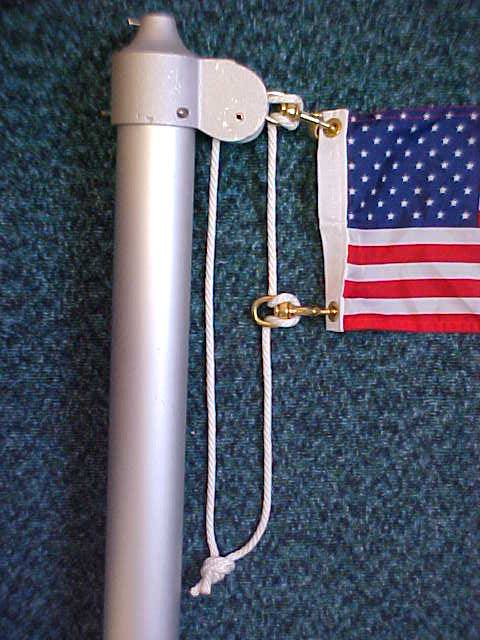 See what I mean? Hoist the flag all the way up. Now the ugly knot is down below where you can wrap it around the cleat which I do not show in these pictures. |
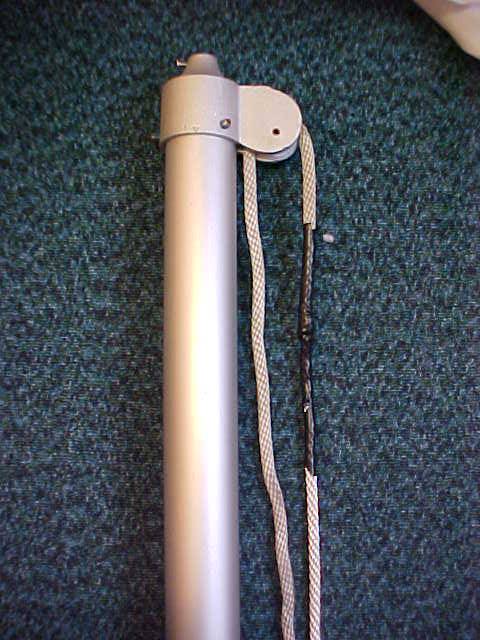
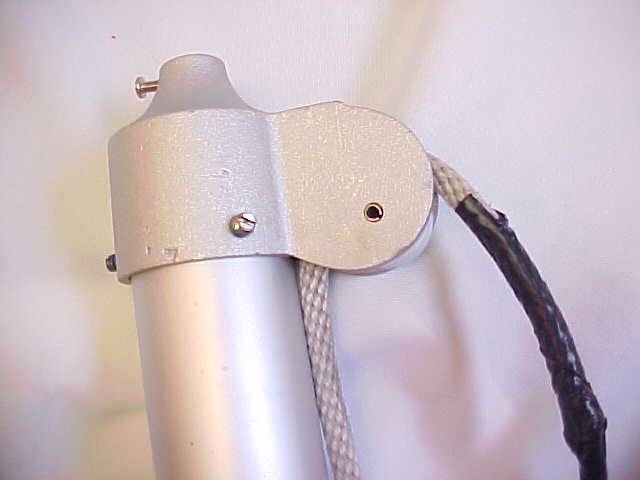
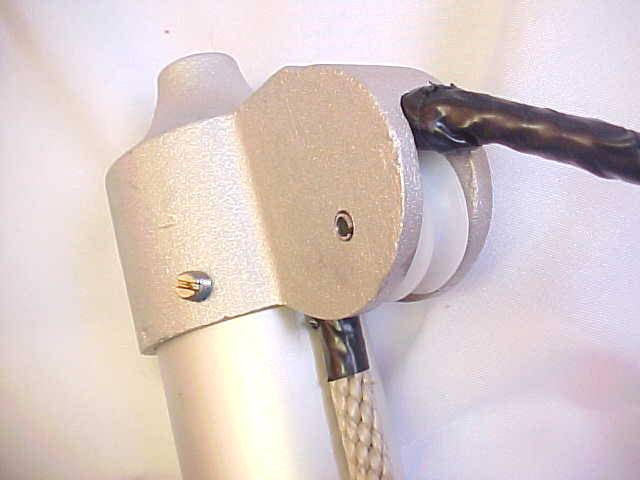
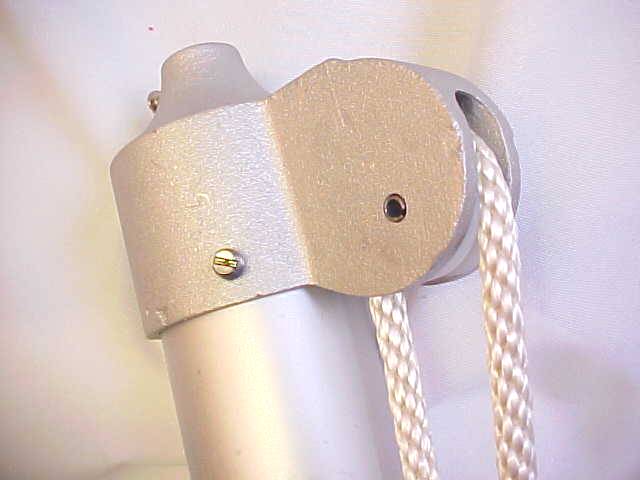
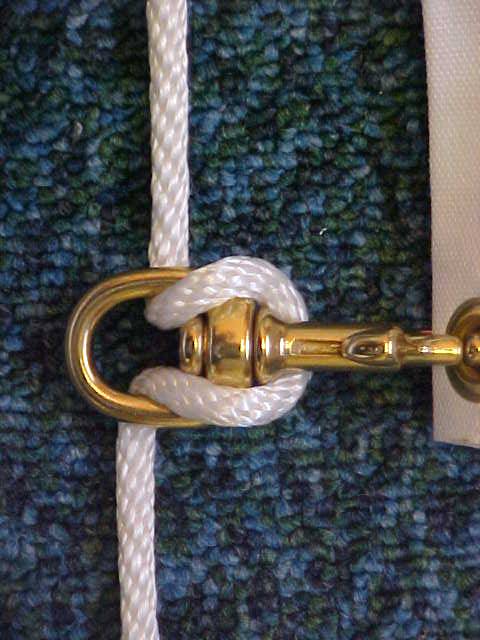
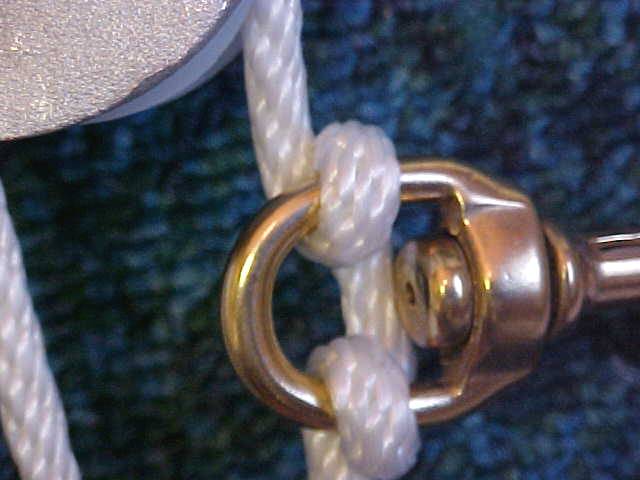
 One more thing. Take a look at what it looks like where the top snap hook meets the pulley wheel.... |
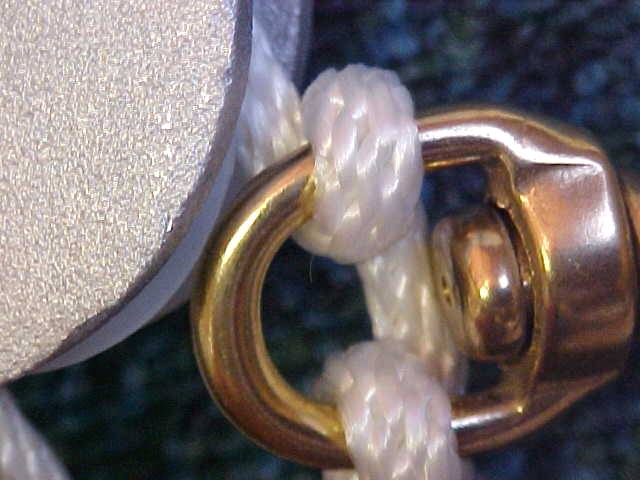 See how the snap hook grinds the halyard against the pulley wheel and/or the truck. This action creates a wear point on the halyard. For this reason.................
|
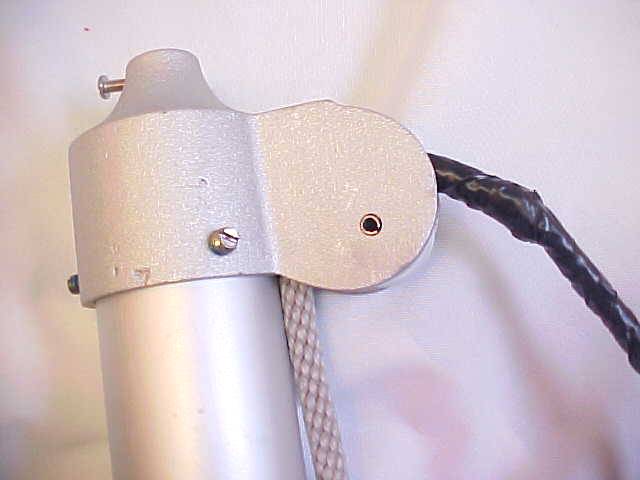
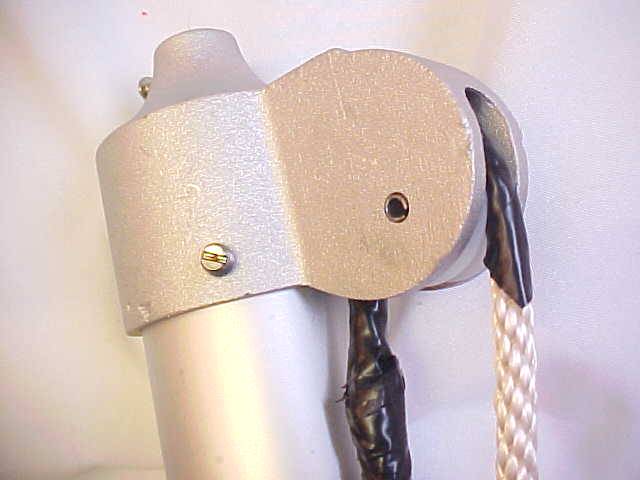
 ........once I feel the top snap hook butt up against the pulley, I back it back dow an inch or so to reduce the wear on the halyard. |
Hi Flag guys! My husband and I bought a really nice, one piece, 20 foot flag pole shortly after 9/11...it is about 15 feet from the road in the center of grass within our circle driveway, with a spotlight on it at night. We, unlike many of our neighbors who also put up flags in that time frame, have kept it up and kept a good-looking flag on it. (Those sectioned poles and flags from the front porches left long ago.) However, the last time we changed the flag, before today, my husband said "that's it until we figure out how the change the rope...it will not come down again without breaking"...ugh! we thought we would have to call the guy we bought the pole from (out of business)...a guy with a bucket truck (who has one???)...see our dilemma? Then I found your web-site, your instructions and HURRAY!!!!...the job this morning could not have been easier. THANK YOU, THANK YOU, THANK YOU. North Augusta, SC Dear North Augusta, Thanks for writing. I'm so happy that folks discover my "how to" pages and find the photo essays helpful. I put a lot of effort into them. Thanks for letting me know this process worked. Al Cavalari
|
| More tips on stringing a
flagpole What others say..... Here is the first one I've heard of that lets you replace a missing halyard without getting up to the top of the pole: I just got a call from some guy out in North Dakota who says the following idea works great for him and he wants to help others so that flags can be kept flying. If you have a short pole, say 20', this could work for you. He takes what he called 1/2" "CPVC" pipe and places one end up to the pulley wheel up top. That is, he places the pipe opening right at, or right below the pulley wheel in such a manner that whatever were to come out of the pipe would be introduced right where the halyard needs to be on the pulley wheel. Then he uses weed eater string to snake the new halyard through the pipe. He tapes the new halyard to the weed eater string and uses the weed eater string like a plumbers snake to push the new halyard up through the pipe. He said that if you pick a firm enough weed eater string, it has enough mass not to bunch up as you push it through the pipe. If you have the opening of the pipe that you've placed up in the air at the pulley wheel at the proper angle, the new halyard will exit the pipe and seat itself into the groove of the pulley wheel, follow the wheel out through the pulley, and come down out the other side. If you keep fishing it forward, it will come down the pole far enough to grab it. This method sounds pretty ingenious to me. I have never tried it myself and I imagine you need a good steady hand and lots of patience. Maybe have someone hold that long pipe in place. He said he has done it successfully multiple times and wants to share it because he and his son are both veterans and he wants to keep flags flying.
Here is an alternative idea that seems worthy. I have never tried it and I will be sticking to what has worked for me these past 25 years. But I pass it on in case it helps someone who would prefer to try their luck with "nail knots". >>>Hi guys
And here is yet another idea on re-roping a flagpole sent in to me by a
customer.
On switching halyard size when reroping a flagpole >>Hi - received my new rope and snap hooks and covers and have all in place !! I upgraded from 1/4" to 5/16" so there was a bit of a challenge making the connection not lumpy but I managed - just wanted you to know your website and humor are awesome - and excellent instructions and information......was a pleasure to speak with your "order taker"........thank you !! best regards, P.K.<<
On reroping a flagpole once the rope has broke >>Any ideas to re-rope a 25 ft flag pole--that rope “broke”--without a “bucket truck”. Thought I would ask….Thanks, Greg<< That is the classic eternal question. I have no idea.
Someday pigs may fly. When they do, maybe we will all be able to float up
to the top of our flagpoles and just slip in a new rope. Until then, join
the club. Call the bucket truck guy and pay him what he needs.
The url for this page is http://flagguys.com/rerope.html 6 7 22
|
|