Page Title:
How To Install a Flagpole Aluminum Flag Poles How to rig a snaphook|
Now look. Here's the deal. You only have to be mildly handy to install the type of flagpole shown on this page. But you can kill yourself too! Even guys who do it for a living have been killed installing a flagpole by touching an overhead wire with it. So DO NOT ALLOW YOUR FLAGPOLE TO TOUCH AN OVERHEAD WIRE. The pole weighs very little. Once you get it up in the air there is a huge leverage problem weighing against you. 80% of the pole will be above your center of gravity and behind you over your head. Also, do it on a calm day with no wind, and maybe have some help to foot it. I have never needed any help to raise this pole. But you need to judge for yourself. Also, keep the dog inside. You don't need to be tripping over him while holding a 20' flagpole over your head. Don't let it fall and bean your kid. Know where you are digging. Dig a 20" hole where there is a pipe or wire buried 19" below the surface and you will be in a world of hurt. Some places have laws about calling a central phone number before you dig anything. Check it out.
|
 |
|
|
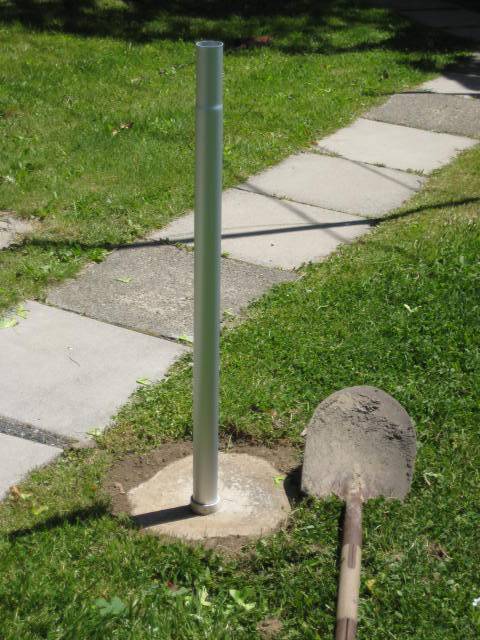
STEP ONE Setting the ground tube. Look at the diagram at the left. Prepare a hole in the ground about 12-18"" in diameter. The size of the hole will always need to depend on local soil conditions. Are you putting your pole up on a beach or in a desert full of sand? Better make a more giant hole. Make the hole about 2-4" deeper than the length of the ground sleeve so you can back fill it with gravel. Some printed instructions call for making the hole even 8" deeper than the "setting tube" (ground sleeve.) For a pole like this one I think that is overkill. Printed instructions sometimes call for filling the bottom with layers of gravel and sand to a depth of 6". I always preferred to use just gravel. Place the PVC ground sleeve that we supply with your pole into the hole, and work the bottom into the gravel/sand. Plumb the ground sleeve by inserting the first section into it and holding a level on the section. Pour concrete into the hole around the tube to within 1/2" of top of the tube. Be careful to keep the inside of tube clean and free of concrete. Re-plumb the ground tube before the concrete sets by temporarily inserting the bottom section of the pole and plumbing it with a level. Allow the concrete to cure at least 24-48 hours before installing the flagpole. |
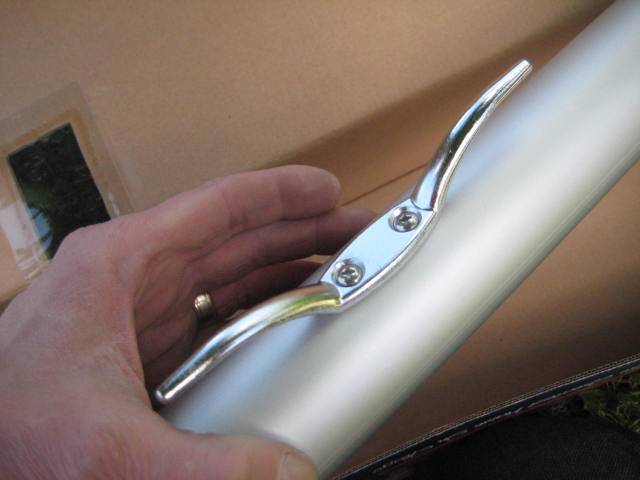
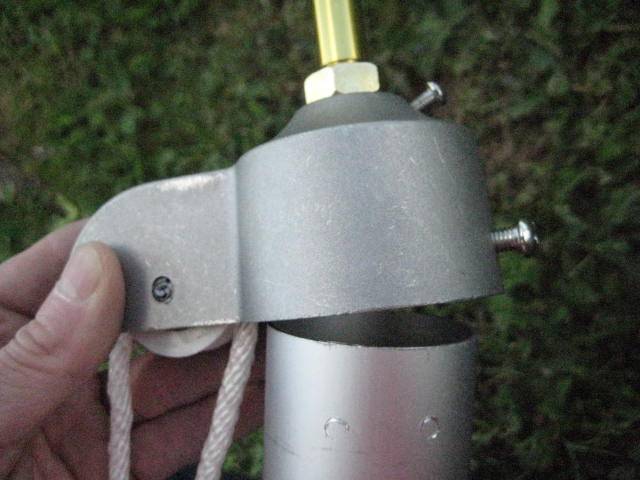 Feed the halyard through the pulley. Screw the gold ball into the threaded hole at the top of the truck. Tighten the nut holding the ball in the truck. Slip the truck down over the top of the pole. |
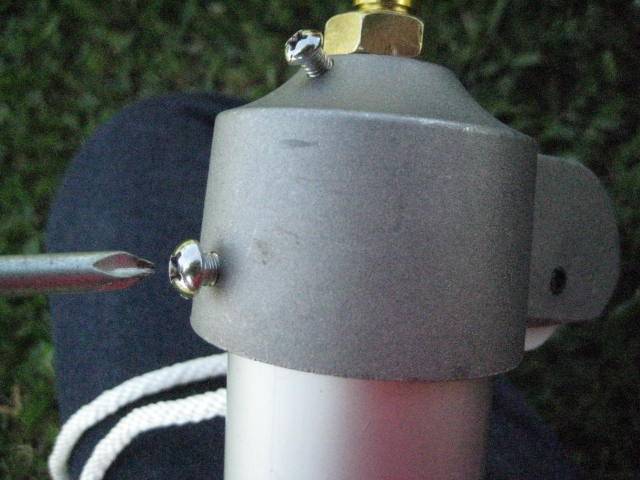 Tighten the set screw holding the truck on to the pole. Notice that screw at the top of the truck. It is a set screw meant to bear down on the stem of the gold flagpole ball. You can tighten it down as well. Don't make it too tight because it bears down on the ball's threads. You have the nut holding on the ball anyway. |
|
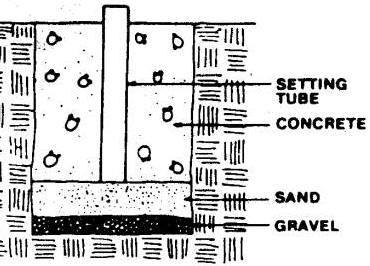
The rope cleat is already pre-mounted for you on the pole. No need to drill any holes. |
Once you have the truck mounted, lay the halyard down alongside the length of the pole in preparation for raising it. |
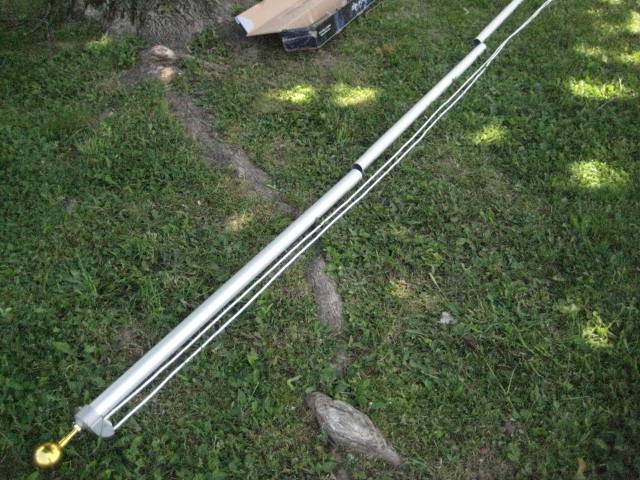 Lay out all your sections in preparation for fitting them together. |
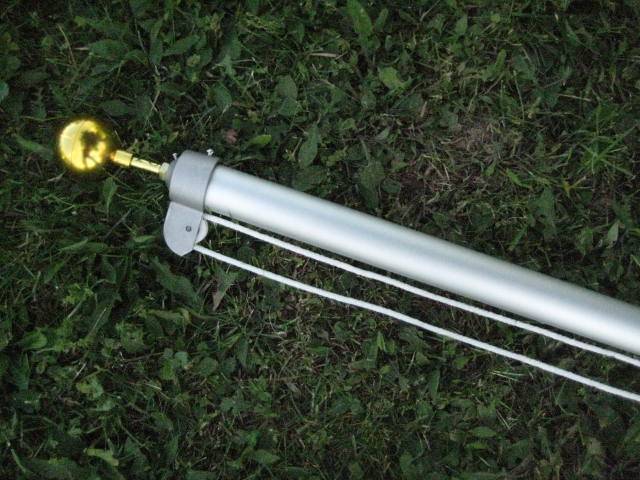
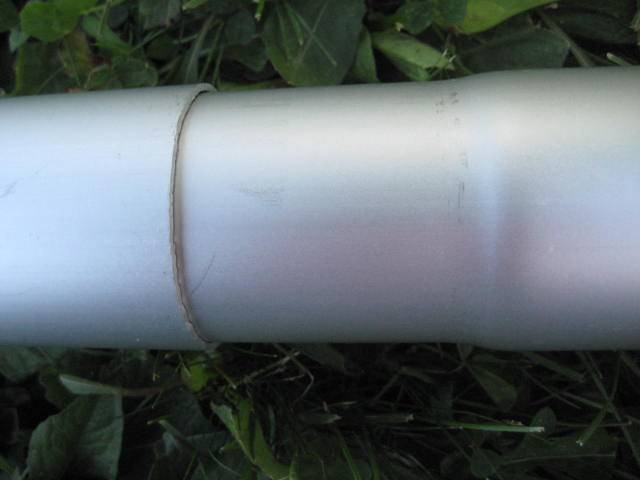
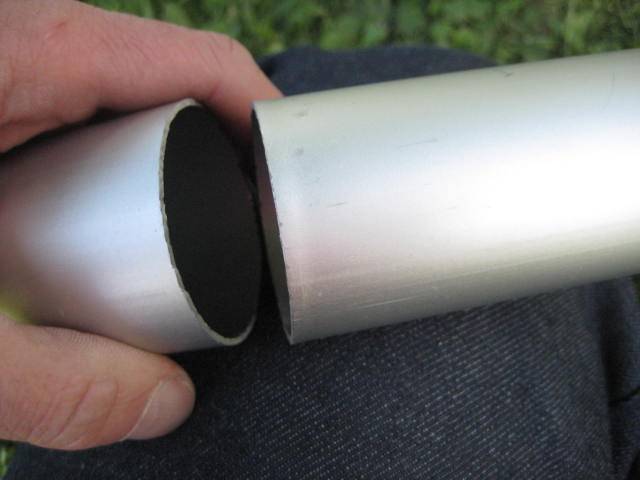 Simply slip the skinny end of one pole section into the fat end of the section above it. The skinny end is called the swedged end. |
|
The pole sections simply slip together |
Before you raise the pole, tie the halyard off around the cleat so you are not tripping over it when you raise the pole. |
|
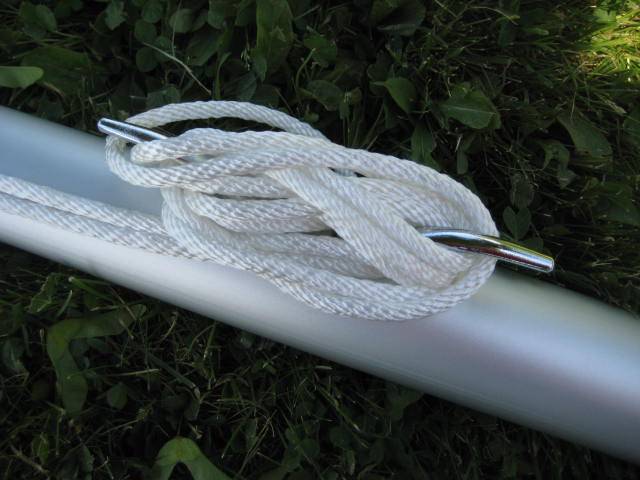
After you raise the pole you are ready to install your snap hooks and attach your flag
|
|
|
|